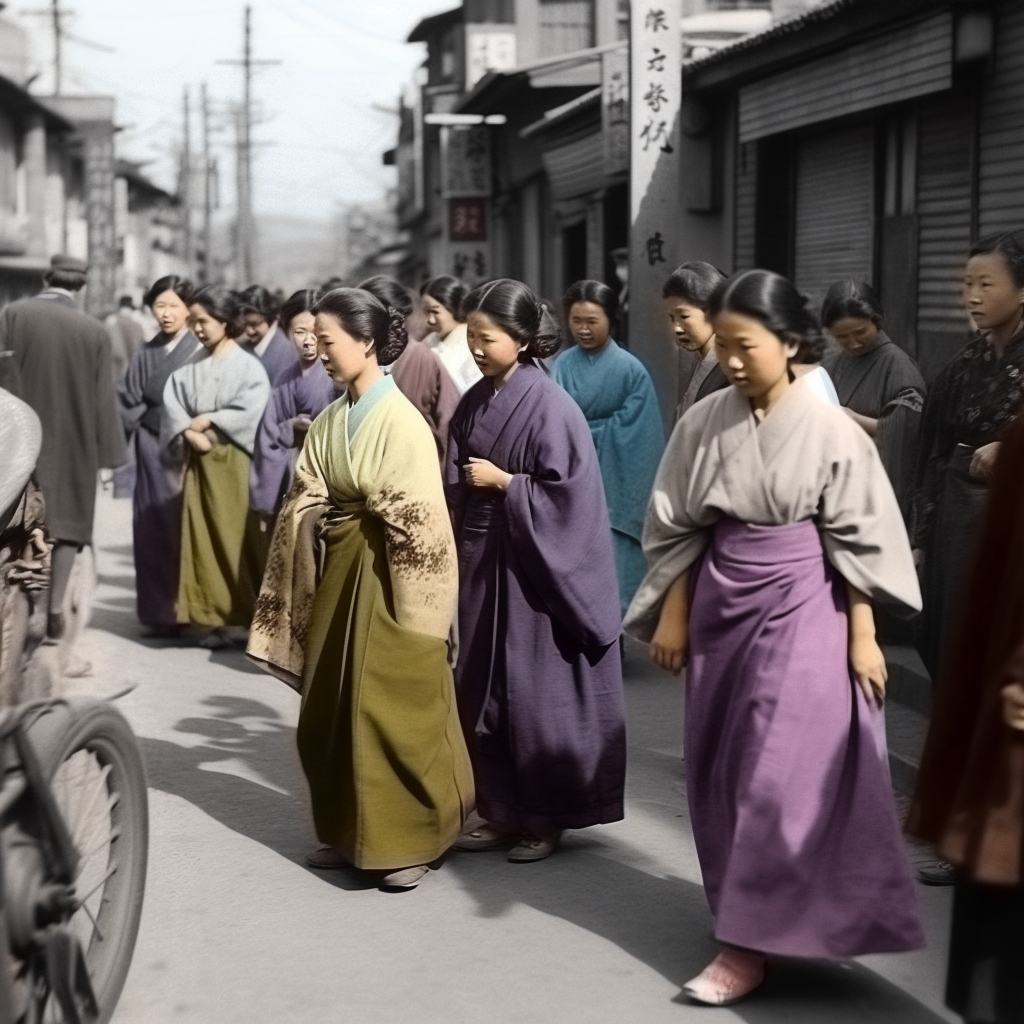
Do you have a collection of old black and white photos and videos that you would love to see in color? Well, you’re in luck because with DeOldify, a deep learning-based algorithm, you can now add color to your old memories with just a few clicks. In this article, we will guide you on how to colorize your old images and videos using DeOldify, step by step.
What is DeOldify?
DeOldify is an open-source project created by Jason Antic, which uses deep learning techniques to add color to old images and videos. The project is built on top of a deep learning framework called PyTorch, and it uses Generative Adversarial Networks (GANs) to colorize images and videos. The DeOldify project has gained popularity due to its ability to produce high-quality and realistic results.
Step-by-Step Guide on How to Use DeOldify
Step 1: Install the Required Software
To use DeOldify, you need to install the required software. Here are the steps:
- Install Anaconda or Miniconda, a Python distribution that includes the required packages.
- Create a new conda environment with the required packages by running the following command in your terminal:
conda create --name deoldify python=3.7
conda activate deoldify
conda install -c pytorch pytorch=1.7.1 torchvision=0.8.2 cudatoolkit=10.1
pip install deoldify
Step 2: Download DeOldify
You can download DeOldify from GitHub by running the following command in your terminal:
bashCopy codegit clone https://github.com/jantic/DeOldify.git
cd DeOldify
Step 3: Prepare Your Images
Before you start colorizing your images, you need to prepare them. Here are some tips:
- Scan your old photos at a high resolution.
- Clean your images by removing any dust or scratches.
- Save your images in a high-quality format such as TIFF or PNG.
Step 4: Colorize Your Images
Now that you have prepared your images and installed DeOldify, you can start colorizing your images. Here are the steps:
- Open your terminal and navigate to the DeOldify directory.
- Run the following command to colorize your image:
\python colorize.py -i input_image.png -o output_image.png
Step 5: Colorize Your Videos
You can also use DeOldify to colorize your videos. Here are the steps:
- Open your terminal and navigate to the DeOldify directory.
- Run the following command to colorize your video:
python video_colorize.py --input path_to_input_video.mp4 --render_factor 21 --output path_to_output_video.mp4
Step 6: Fine-tune Your Results
DeOldify provides various parameters that you can use to fine-tune your results. Here are some of the parameters:
- Render Factor: This parameter controls the speed and quality of the colorization. A higher value will produce better quality results but will also take longer to process.
- Color Depth: This parameter controls the amount of color added to the image. A higher value will produce more vibrant colors, while a lower value will produce more muted colors.
Conclusion
DeOldify is a powerful tool that allows you to add color to your old photos and videos with ease. By following the steps outlined in this article, you can colorize your old memories and bring them back to life.


Leave a Reply